Making Sugar Wax Recipe – Easy Beginners Tutorial
I remember the first time I tried making a sugar wax recipe. I had stumbled across a viral TikTok – make your own sugar wax at home, they said. The idea of ditching disposable razors and harsh chemicals sounded perfect. Plus, traditional waxing at salons left my sensitive skin red and irritated for days. That night, I decided to try making my own sugar wax, and let me tell you – it was the best thing I’ve done for my skin and wallet!
If you’re like me and ready to ditch regular waxing and find a natural method of hair removal, then this easy beginner’s tutorial will walk you through everything. Whether you’re going for smooth bikini lines or tackling unwanted hair on your legs, this guide will help you achieve the best results.
What is Sugar Waxing?
This Sugar wax recipe, also known as sugaring, is a type of hair removal that dates back to ancient Egypt and the Middle East. Unlike strip wax or hard wax that can sometimes damage the top layer of skin, sugaring gently lifts body hair from the root while exfoliating dead skin cells.
The good news? It’s made with simple, natural ingredients you likely already have in your kitchen. No harsh chemicals, no big deal. Just smooth, hair-free skin for up to 3-4 weeks with fewer ingrown hairs than traditional waxing.
Sugar Wax Ingredients:

To make your own sugar wax recipe, you’ll only need a few pantry staples:
Optional:
- A little bit of coconut oil for added moisture
- Corn starch or baby powder for prepping the skin
How to Make Sugar Wax Recipe
The method is simple but getting the right consistency is key! Here’s how I make a batch:
- In a saucepan, combine 1 cup of sugar, lemon juice, and water.
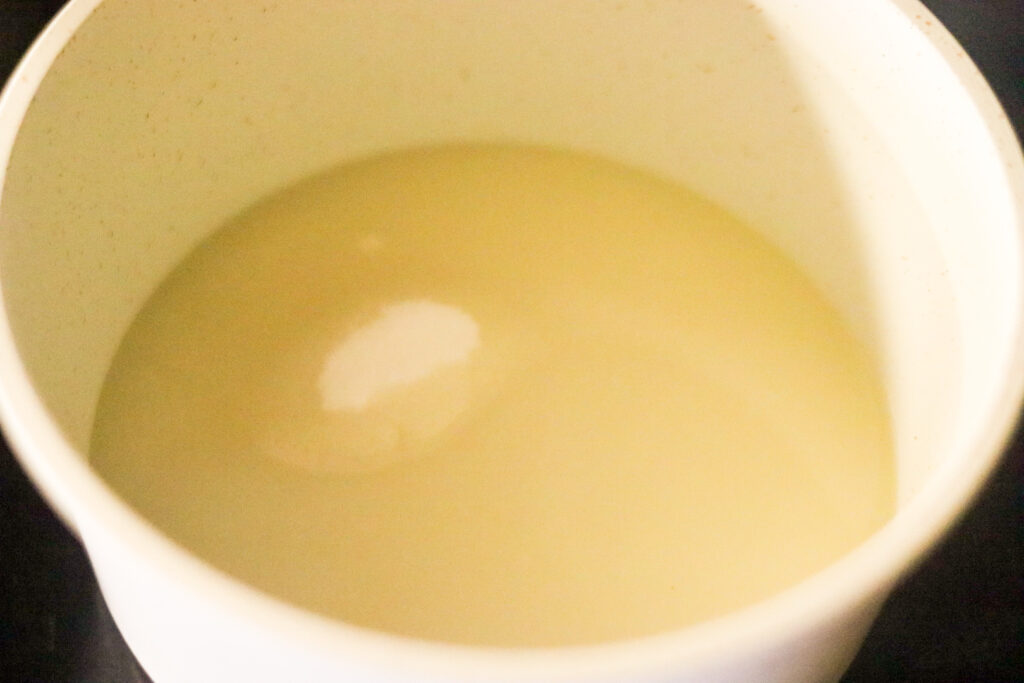
- Place over medium-high heat, stirring until the sugar dissolves.
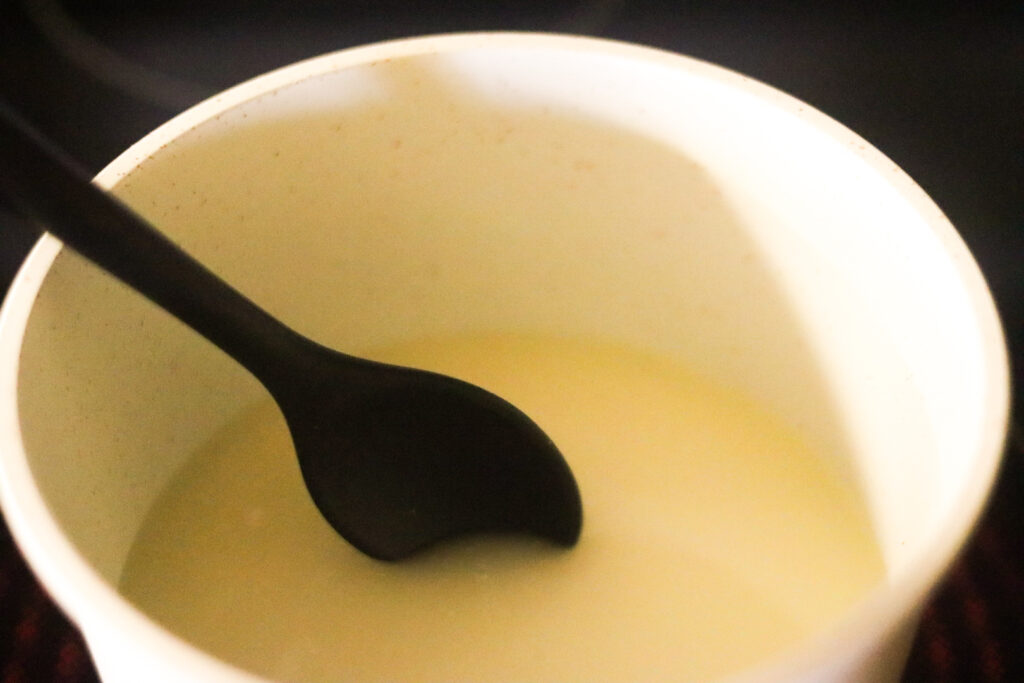
- Once it starts bubbling, reduce to medium heat. Using a candy thermometer, monitor until it reaches about 240°F (the soft ball stage).

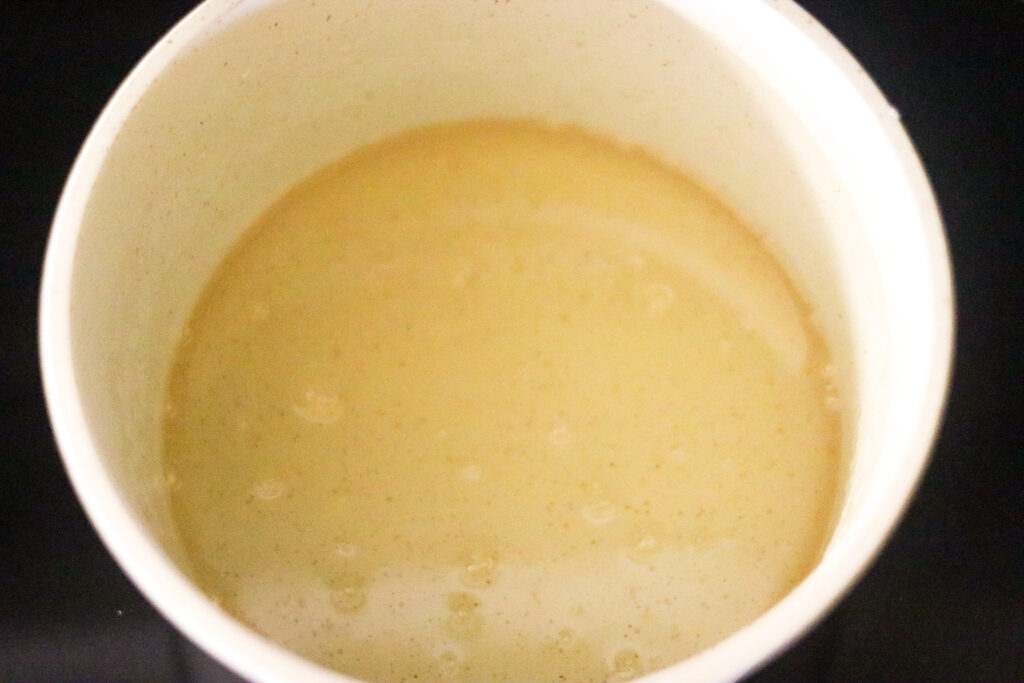
- As the mixture cooks, you’ll notice the colour changes from clear to golden brown – that’s your sign it’s almost done!
- Remove from heat and let it cool to room temperature before using.
Tip: If it hardens too much, you’ve cooked it too long. No worries! Add a tablespoon of water and warm it over low heat to soften it.
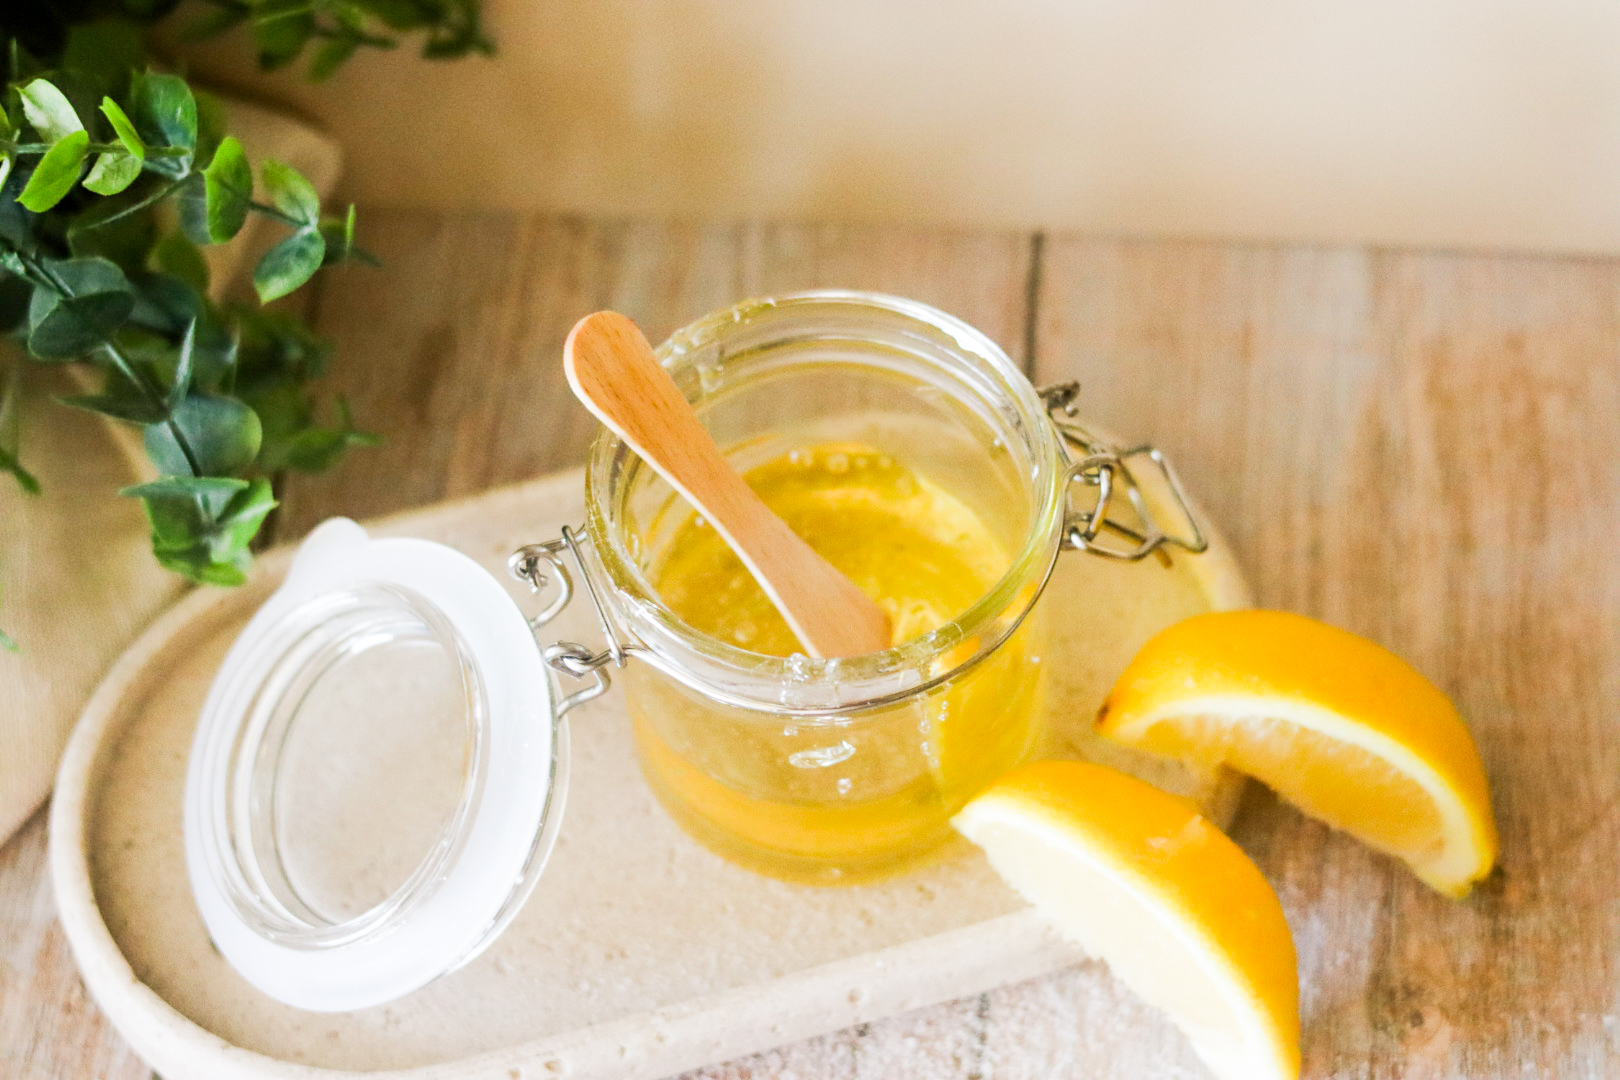
Once cooled, transfer your wax mixture into a glass jar. Now you’re ready to go!
How to Sugar Without Cloth Strips (Sugaring Paste Method)
This is my personal favorite method – less mess and no waste! Just let it cook for 1-2 minutes longer.
- Prep your skin with baby powder or corn starch to absorb moisture.
- Scoop a ball of sugar paste (about the size of a golf ball) from your batch.
- Knead it in your hands until pliable.
- Apply it against the direction of hair growth in a thin layer over a small area.
- Quickly flick it off in the direction of the hair growth.
Repeat with the same ball of paste until it loses its stickiness or you finish your body part. For bikini areas or sensitive skin, work with a smaller ball of paste for better control.
How to Sugar With Cloth Strips (Strip Technique)
For beginners, this method feels familiar if you’ve done Brazilian waxes or used store-bought wax strips before.


- Using a popsicle stick or butter knife, spread a thin inch layer of wax (about 1/8 inch) onto the skin in the direction of the hair growth.
- Immediately press a cotton or cloth strip over the wax. (You can cut an old t-shirt, cloth or muslin cloth for your cloth strips)
- Rub firmly a few times, and in one swift motion, pull the strip off in the opposite direction of hair growth.
Pro Tip: Afterward, rinse the area with warm water and pat dry. Then soothe your skin with a little coconut oil for that smooth finish.
Tips for Best Results
- Always check the wax is at room temperature before applying. Too hot and you risk sugar burns; too cool and it won’t spread properly.
- For first-time users, start on less sensitive areas like the legs before moving to delicate spots like the bikini area.
- Use cold water to clean up any leftover sugar wax – it dissolves super easily!
- Make a new batch every few weeks to keep your sugaring paste fresh.
How to Store Your Homemade Sugar Wax Recipe
One of the perks of making sugar wax on your own is that you can store it and use it multiple times. Here’s how to keep your sugaring paste or wax mixture fresh and ready to go for your next session:
- Let it Cool Completely: After cooking your wax mixture and letting it reach room temperature, make sure it’s fully cooled before transferring it.
- Use a Glass Jar: Store your sugar wax in an airtight glass jar or container. Glass works best because it won’t absorb any of the wax’s natural ingredients or scents.
- Keep It in a Cool, Dry Place: You can keep your sugar wax at room temperature in a cabinet or drawer. Just make sure it’s away from direct sunlight or heat, which could change the consistency.
- For Longer Storage: If you want to keep your wax for a long time (up to a few months), you can refrigerate it. Before using, just warm it gently in hot water or microwave it for a few seconds until it’s soft enough to work with.
- Check Before Reuse: When you make a new batch or reuse stored wax, check for signs of contamination (like mold or an odd smell) – especially if you added natural extras like coconut oil. But if you’ve stored it properly, you should be good to go!
Properly stored sugar wax recipe can save you so much time when you need a quick touch-up or a full waxing session. And honestly, it’s super satisfying having your homemade wax ready for whenever you need that smooth finish without running to the store or salon.
What If My Sugar Wax Gets Too Hard?
It happens to the best of us, especially on your first time or when experimenting with your cook time. If your sugar wax or sugaring paste gets too hard to spread or knead, don’t worry – you can easily fix it!
Here’s how to soften it back up:
- Warm It Gently: Place the glass jar of sugar wax in a bowl of hot water for 5-10 minutes. This will slowly loosen the wax back to the right consistency without making it too runny.
- Microwave Option: If you’re short on time, microwave the wax mixture in 5-10 second bursts. Be careful though! Stir and check it between bursts to make sure it doesn’t get too hot.
- Add a Little Water: If you’ve made a new batch and it hardened during cooking, you can reheat it on medium-low heat and add a tablespoon of water. Stir it well until the wax thins out and becomes more pliable.
Tip: You’re aiming for a soft, pliable texture like warm honey (for the strip technique) or a thick taffy (for the paste method). If it feels like hard candy, it needs softening.
Why Sugar Waxing is Worth It
Compared to regular waxing, sugar waxing is gentle on the hair follicle and removes hair without damaging the skin’s top layer. Plus, it works well on all skin types, including sensitive skin like mine. As someone who struggled with ingrown hairs from disposable razors, switching to sugaring was a game-changer. The fact that I can whip up my own batch in under 30-45 minutes last night and have smooth skin today? Priceless!
FAQ: Sugar Waxing for Beginners
1. Does sugar waxing hurt?
It depends on your pain tolerance and the body part. Compared to traditional waxing, sugar waxing tends to be less painful because the wax doesn’t stick to the top layer of skin—just the hair. For first-time users, start with less sensitive areas like legs and work your way up to bikini lines or underarms.
2. How long should my hair be before sugaring?
For the best results, hair should be about 1/4 inch long (roughly the length of a grain of rice). If your hair is too short, the wax may not grip properly; too long, and it might feel more uncomfortable.
3. Can I reuse the sugar paste ball?
Yes! When using the sugaring paste method without cloth strips, you can reuse the same ball of sugar on a small area until it loses its stickiness. Just be sure to discard it when it gets too full of hair.
4. How do I clean up after sugaring?
That’s one of the best things about sugar waxing—it’s water-soluble! Simply rinse your skin, popsicle stick, or cloth strips with warm water or cold water, and any leftover wax dissolves instantly.
5. How often should I sugar wax?
Most people sugar wax every 3-4 weeks. Over time, you may notice your body hair growing back finer and sparser.
Making Sugar Wax Recipe - Easy Beginners Tutorial

Ingredients
- 1 cup of sugar (white sugar works best for beginners)
- 1/4 cup lemon juice (or lime juice if you prefer)
- 2 tablespoons water (or a tablespoon of water and a tablespoon of apple cider vinegar for extra antibacterial benefits)
Instructions
- In a saucepan, combine 1 cup of sugar, lemon juice, and water.
- Place over medium-high heat, stirring until the sugar dissolves.
- Once it starts bubbling, reduce to medium heat. Using a candy thermometer, monitor until it reaches about 240°F (the soft ball stage).
- As the mixture cooks, you’ll notice the colour changes from clear to golden brown – that’s your sign it’s almost done!
- Remove from heat and let it cool to room temperature before using.
Notes
Tip: If it hardens too much, you’ve cooked it too long. No worries! Add a tablespoon of water and warm it over low heat to soften it.
Once cooled, transfer your wax mixture into a glass jar. Now you’re ready to go!
Final Thoughts
If you’ve been lurking around the hairtell hair removal forum like me or deep-diving into the sugaring community on TikTok, you’ll notice how many rave about this method. It’s affordable, effective, and feels like a little self-care ritual every time you do it.
So good luck with your first time sugaring! Whether you choose the soft wax strip technique or go old-school with a ball of sugar paste, you’re on your way to ditching harsh chemicals and getting that silky-smooth finish naturally.
Now, go grab that cup of sugar and get started – you’ll thank yourself later!
Supplies You’ll Need:
Check Out Other Body Care Recipes:
- Scalp Exfoliation for Hair Growth Made at Home
- The Best Homemade Facial Scrub – Homemade Exfoliator for Face
- DIY Whipped Shea Butter Recipe – Simple & Non-greasy
- Homemade Body Scrub – Easy Homemade Body Exfoliator
- Magnesium Spray for Feet: Natural DIY Remedy for Better Sleep


