Best Serum for Oily Skin – DIY Easy Recipe
Okay sis, let’s talk oily skin—because I’ve been there. You know, the constant shine, random breakouts, large pores, and that “greasy by noon” situation? Yep. But I promise, there’s hope—and it starts with the right natural skin care. If you’ve been hunting for the best serum for oily skin, let me hook you up with a DIY face serum that’s lightweight, nourishing, and super simple to make.

This homemade Best Serum for Oily Skin is packed with natural ingredients your skin will love. It helps balance excess oil, hydrate without clogging pores, and even reduce the appearance of scars and fine lines (yes, oily skin can still show signs of aging, girl). Plus, it’s way cheaper than store-bought skin serums, and you know exactly what’s going on your face. This serum is great for oily skin, and if you’re also tackling pigmentation, try this age/sun spot removal method.
Why a Serum Works for Oily Skin
I know putting oil on oily skin sounds a little wild, but trust me—it’s the best way to help your skin stop overproducing oil. When your skin is stripped (looking at you, harsh cleansers and toners), it thinks it has to make up for it by producing even more oil. A good facial oil using the best carrier oils can help rebalance that.
This balancing serum keeps skin in check, and for lip hydration without breakouts, my tallow lip balm is a gentle, nourishing option.
This homemade Best Serum for Oily Skin is designed with acne-prone skin, combination skin, and even sensitive skin in mind. It helps smooth skin tone, calm skin irritation, and promote healthy skin from the inside out.
If you struggle with oily or acne-prone skin, my aloe face mask pairs beautifully with my balancing serum—calms inflammation and hydrates without clogging pores.
What You’ll Love About The Best Serum for Oily Skin
- It’s made with natural oils rich in fatty acids and antioxidants
- Perfect for different skin types, especially oily and breakout-prone
- Helps with dark spots, age spots, and even the appearance of wrinkles
- Doubles as a nighttime glow booster in your skincare routine
- Requires only a few simple ingredients and lasts a long time
If you’re making your own skincare lineup, don’t skip your lips—this beeswax lip balm is ultra-soothing and super easy to whip up!
The Best Ingredients for Best Serum for Oily Skin
Let’s break down the MVPs for this Homemade Best Serum for Oily Skin:
- Jojoba oil: Mimics your skin’s natural sebum. It’s non-comedogenic and great for large pores and oily skin.
- Grapeseed oil: Lightweight and full of vitamin E—it helps tighten and tone.
- Rosehip seed oil: Brightens skin and reduces the appearance of scars and dark spots.
- Tea tree oil: The holy grail for acne-prone skin—fights bacteria and clears clogged pores.
- Aloe vera gel: Adds hydration and soothes irritated or inflamed skin.
- Vitamin E oil: Protects against sun damage and supports collagen production.
Optional boosters:
- Tamanu oil for healing acne scars
- Pomegranate seed oil for brightening
- A splash of rose water for a floral refresh
- A few drops of roman chamomile if your skin is extra reactive
DIY Easy Recipe: Best Serum for Oily Skin
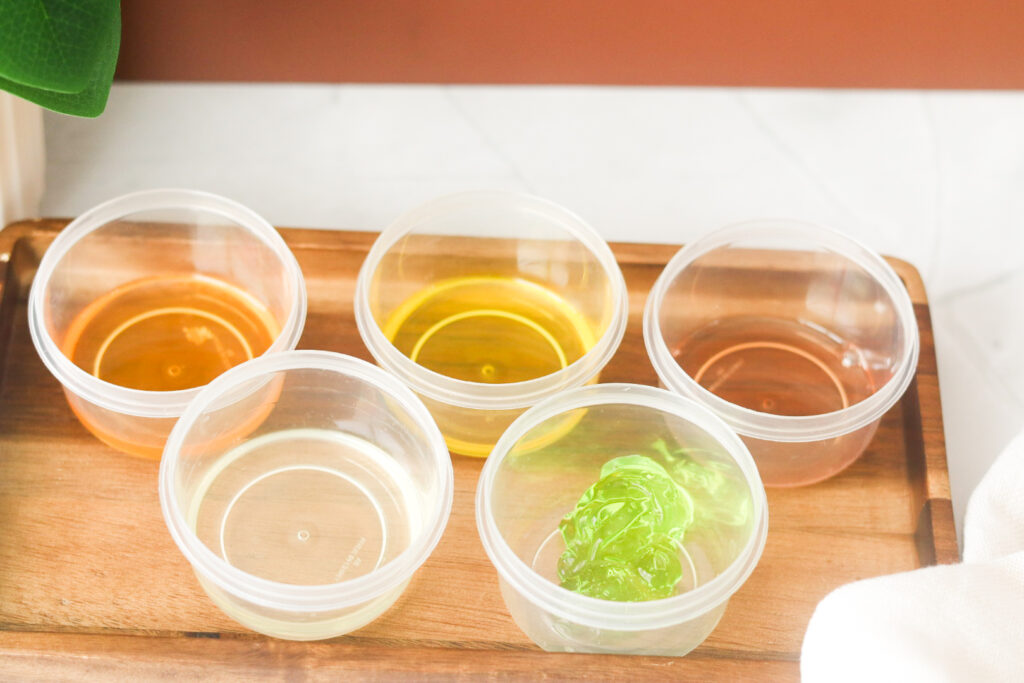
Ingredients:
Optional (for glow):
- 2 drops pomegranate seed oil
- 1 teaspoon rose water

Instructions:
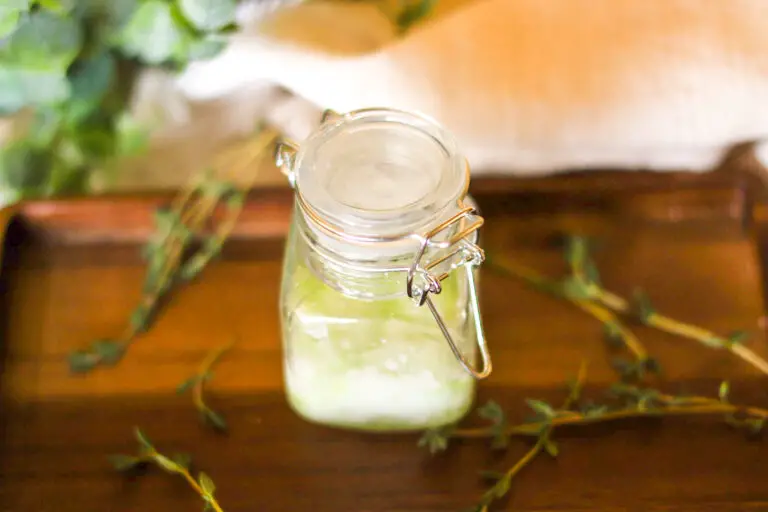
- Add all ingredients to a clean glass bottle or glass dropper bottle (bonus if it’s a dark bottle to protect the oils).
- Shake gently to mix, and you’re good to go.
- Apply 3–4 drops to clean skin before your moisturizer, morning or night.
For best results, use consistently and store in a cool place away from direct sunlight. This Best Serum for Oily Skin will last 2–3 months in an airtight container.

Quick Tips Before You Use It
- Always do a patch test before trying any new diy product, especially if you have sensitive skin or active skin conditions.
- If you’re using other active ingredients in your skincare regimen (like hyaluronic acid or vitamin C), apply those first, then seal in with this natural serum.
- Want a morning version? Add a drop of coconut oil or apricot kernel oil for lightweight nourishment that wears well under makeup.
How to Use It in Your Skincare Routine
Before applying your diy face serum, it’s a good idea to start with a gentle exfoliation to remove dead skin cells and help your serum absorb better. I love using my homemade facial scrub once or twice a week—it’s gentle, all-natural, and gives you that smooth, fresh-faced glow that makes your skin drink up all the goodness in your serum.
Taking care of your skin is just the start. Treat your hair too with my DIY Hair Mask—it’s perfect for a relaxing self-care night in.
Your skincare routine doesn’t have to be complicated. Here’s how to work this homemade serum into your glow-up game:
Morning:
- Cleanse (try raw honey or a splash of apple cider vinegar toner)
- Spritz rose water
- Apply serum (2–3 drops)
- Moisturizer (optional)
- Sunscreen (always, girl!)
Evening:
- Cleanse
- Exfoliate once or twice a week (think homemade vitamin C serum or gentle AHAs)
- Apply diy serum
- Moisturize or leave it as your final step
Trust me, your skin will feel smoother, more balanced, and look like it’s glowing from within. Total youthful-looking skin vibes.
After applying your homemade serum, don’t forget to lock in all that hydration with a light, non-greasy homemade face moisturizer. It’s packed with natural ingredients and gives your skin that final boost of nourishment—especially important if you’re layering with active ingredients or treating skin concerns like fine lines or dark spots.
What If You Have Combination or Mature Skin?
This natural face serum isn’t just for oily babes. If you’ve got mature skin, just swap in argan oil or avocado oil for a richer feel. If you’re dealing with both dry skin and oily patches, this formula is flexible enough to adjust based on your own skin type.
Want to get fancy? Blend in a little hazelnut oil, sesame oil, or even olive oil for added richness (especially in winter months).
A Note on Ingredients & Safety
All the oils I mention here are generally safe, but I always recommend buying high-quality oils—especially if you’re shopping through affiliate links or an amazon associate link. Look for cold-pressed, organic, and unrefined oils for the best serum quality.
And while this is a totally safe diy recipe, it’s not a substitute for professional medical advice if you’re dealing with serious skin concerns.

FAQ: Best Serum for Oily Skin – DIY Edition
Can I really use oil on oily skin?
Girl, yes! It sounds backwards, but using the right natural oils (like jojoba oil or grapeseed oil) can actually balance your skin’s oil production. When your skin is hydrated properly, it stops overproducing excess oil. It’s all about using non-comedogenic oils that won’t clog pores.
How long does homemade serum last?
Most homemade face serums will stay fresh for 2 to 3 months if stored in a glass dropper bottle or dark bottle, in a cool, dry spot away from direct sunlight. Make sure to keep your ingredients fresh and sealed in airtight containers.
Can I use this serum if I have combination or sensitive skin?
Absolutely. This recipe is super flexible for different skin types. If you have sensitive skin, just do a patch test first and maybe skip the tea tree oil or use roman chamomile instead. Got combination skin? No problem—this blend works great for balancing both oily and dry zones.
When should I apply it in my skincare routine?
Use your diy face serum right after cleansing and toning, but before heavier creams. It works beautifully day or night. And yes, it plays well with other active ingredients like hyaluronic acid and vitamin C (just layer wisely).
Can I wear makeup over it?
Totally! This natural serum gives a smooth skin feel and won’t mess with your makeup, especially if you give it a minute or two to sink in.
Got more questions? Drop them in the comments—I got you!
Best Serum for Oily Skin – DIY Easy Recipe

This homemade serum is packed with natural ingredients your skin will love. It helps balance excess oil, hydrate without clogging pores, and even reduce the appearance of scars and fine lines (yes, oily skin can still show signs of aging, girl). Plus, it’s way cheaper than store-bought skin serums, and you know exactly what’s going on your face.
Ingredients
- 1 tablespoon jojoba oil
- 1 tablespoon grapeseed oil
- 1 teaspoon rosehip seed oil
- 2 teaspoons aloe vera gel
- 2–3 drops tea tree oil
- 1 capsule or ¼ teaspoon vitamin E oil
- Optional (for glow):
- 2 drops pomegranate seed oil
- 1 teaspoon rose water
Instructions
- Add all ingredients to a clean glass bottle or glass dropper bottle (bonus if it’s a dark bottle to protect the oils).
- Shake gently to mix, and you're good to go.
- Apply 3–4 drops to clean skin before your moisturizer, morning or night.
Notes
- Always do a patch test before trying any new diy product, especially if you have sensitive skin or active skin conditions.
- If you’re using other active ingredients in your skincare regimen (like hyaluronic acid or vitamin C), apply those first, then seal in with this natural serum.
- Want a morning version? Add a drop of coconut oil or apricot kernel oil for lightweight nourishment that wears well under makeup.
Final Thoughts: Glowy Skin, the Natural Way
Making your own homemade face serums is one of the easiest, most empowering ways to care for your skin. You don’t need a shelf full of $80 bottles—you just need a few natural ingredients, a little knowledge about your own skin type, and a desire for that beautiful skin glow.
This right here? It’s the best serum for oily skin because it’s made with love, tailored to you, and leaves your skin feeling clean, nourished, and balanced.
So go ahead, mix it up, pour it into your cute little dropper bottles, and give your skin the treat it deserves. 💛
Let me know how it works for you—or share your favorite face serum recipes in the comments. And if you’re feeling extra creative, you can even whip up a matching homemade face scrub or cleanser to complete the vibe.
Shop This Post:
- Jojoba oil – lightweight and perfect for all skin types
- Grapeseed oil – Soaks in quickly and feels silky
- Rosehip seed oil – Packed with vitamins for bright, happy skin
- Aloe vera gel – My go-to for a cooling, hydrating boost
- Tea tree oil – Great for keeping skin clear and balanced
- Vitamin E oil – Adds extra nourishment and helps protect skin
- Pomegranate seed oil (Optional for glow) – Optional but amazing for that natural glow
- Rose water (Optional for glow) – Optional for extra softness and a beautiful, calming scent
Click Below For More Body Care Blogs:
- Homemade Face Moisturizer – Easy DIY Face Moisturizer Recipe
- The Best Homemade Facial Scrub – Homemade Exfoliator for Face
- How To Remove Age Spots Naturally
- Tallow Lip Balm Recipe – Simple DIY for Nourished Lips
- Aloe Leaf Face Mask – An Easy DIY That Makes My Skin Feel Brand New
- Beeswax Lip Balm Recipe – A Easy DIY for Soft Lips