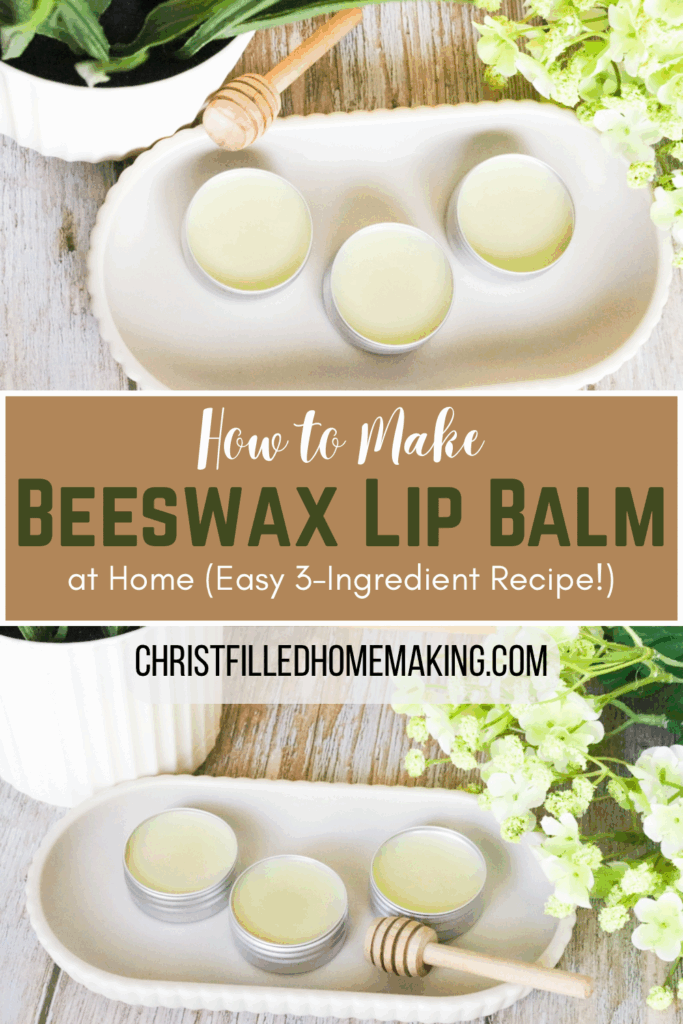
Beeswax Lip Balm Recipe – A Easy DIY for Soft Lips
There’s something so satisfying about making your own natural products—especially when it’s something you reach for every day like lip balm. If you’re anything like me, you’ve tried all the popular choices at the store (looking at you, Burt’s Bees), but nothing quite beats the feeling of whipping up your own beeswax lip balm with simple, natural ingredients you already trust. This beeswax lip balm recipe is one of my favorites—easy, nourishing, and perfect for gifting or keeping stashed in every pocket.

So let’s cozy up and make something beautiful together. Whether you’re looking to ditch petroleum jelly-filled tubes or just want something with fewer mystery ingredients, this DIY beeswax lip balm recipe is a lovely little kitchen project that leaves you with a final product that works.
Why Make Your Own Lip Balm?
When you make your own lip balm, you get to control everything: the scent, the texture, the ingredients, and the love you put into it. No additional cost from fancy branding. No questionable fillers. Just good, wholesome carrier oils, pure beeswax, and nourishing butters that your lips will thank you for.
Plus, it’s such a good idea for little gifts, baby shower favors, or just stocking your own home. Once you try this homemade beeswax lip balm recipe, it’s hard to go back to the store-bought stuff.
Beeswax Lip Balm Recipe
This recipe makes about 10–12 lip balm tubes or 6–8 small containers, depending on size.

You’ll Need:
Instructions:
1. In a double boiler over low heat, melt the beeswax pellets, shea butter, and cocoa butter together. Stir gently and continuously until smooth.

2. Add your chosen carrier oils and continue stirring until fully combined.

3. Remove from heat and stir in vitamin E oil, raw honey, and your essential oils. This is also the time to add any optional ingredients like herbal oils or a tiny bit of mica for shimmer.
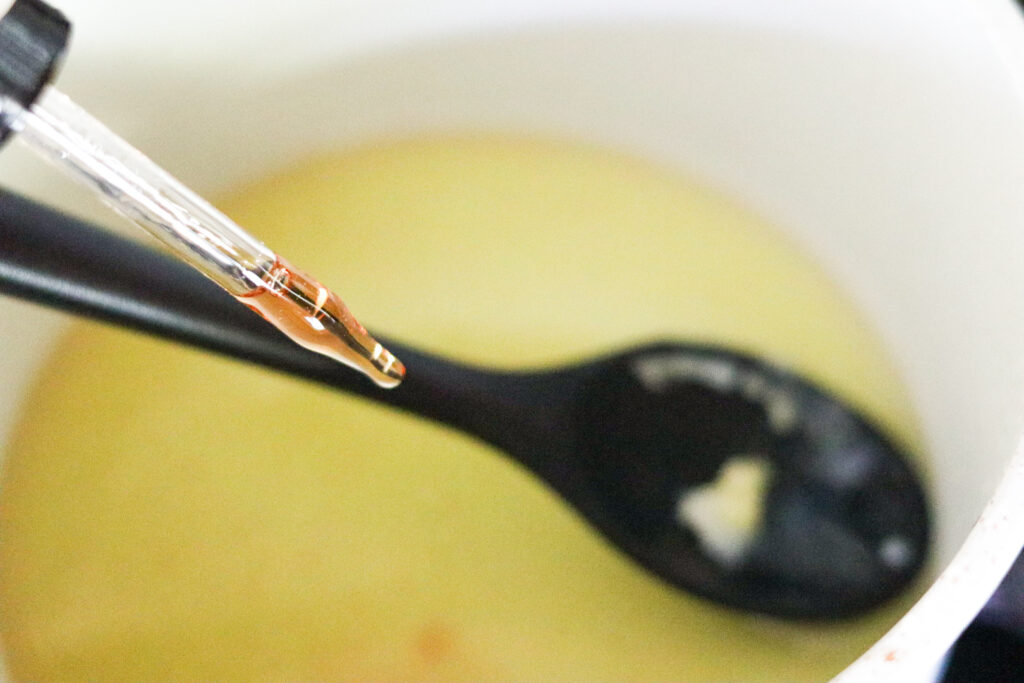
4. Carefully pour the oil mixture into your prepared lip balm tubes or containers. A small funnel or eye dropper works best to reduce spills.

5. your lip balm mixture cools completely at room temperature before putting on the lids.

And just like that—you’ve got your very own stash of healthy ingredients in lip balm form! Before applying any balm, I love to gently exfoliate with my Homemade Lip Scrub—it helps remove dry flakes and makes the balm absorb even better.
Shop This Post
(These are affiliate links. I only share great products I personally use and love. If you buy through them, I may earn a small commission—thank you for supporting the blog!)
- Beeswax Pellets – These melt easily and are great for small batches without needing to chop a whole block.
- Shea Butter – I love this one because it’s unrefined, smooth, and super moisturizing.
- Cocoa Butter – Adds a soft chocolatey scent and rich texture.
- Sweet Almond Oil – My go-to for softening dry lips without feeling greasy.
- Vitamin E Oil – Helps extend shelf life and adds a nourishing boost.
- Lip Balm Tubes – I love using the traditional lip balm tube for easy on-the-go use.
- Peppermint Essential Oil – A refreshing classic for lip balm that gives a light tingle and smell-good vibes.
Blogs You’ll Love
Here are some other natural DIYs that pair beautifully with this natural lip balm project:
- Tallow Lip Balm Recipe
A nourishing, ultra-healing balm perfect for winter dryness or extra sensitive skin. - Whipped Shea Butter – Deep Moisture for Face & Body
Use this alongside your balm for soft hands, elbows, and lips too! - DIY Cuticle Oil – Best Natural Recipe for Nails
An easy way to use up your extra carrier oils and keep your nails nourished. - Homemade Face Moisturizer – Gentle and Non-Greasy
Pairs perfectly for a clean, no-fuss skincare routine full of organic ingredients.
FAQ – Beeswax Lip Balm Recipe
What’s the main difference between store-bought and homemade lip balm?
Homemade balms use natural ingredients like carrier oils, beeswax, and organic essential oils—no petroleum jelly, synthetic preservatives, or fillers.
Can I use other oils if I don’t have sweet almond or jojoba?
Yes! Avocado oil, olive oil, or sunflower oil work beautifully too. Just make sure they’re high quality and safe for skin.
How long does the Beeswax Lip Balm Recipe last?
If stored in a cool, dry place, your balm will stay fresh for 6–12 months thanks to the vitamin E oil and beeswax.
Can I flavor it without using essential oils?
Yes! You can infuse your carrier oils with herbs or spices (like cinnamon or vanilla) for subtle flavor and scent.
What’s the consistency of the Beeswax Lip Balm Recipe like?
This balm has a firm, smooth texture that melts on contact with your lips. If you want it softer, add a little more sweet almond oil; for firmer, add more beeswax.
Beeswax Lip Balm Recipe – A Easy DIY for Soft Lips

There’s something so satisfying about making your own natural products—especially when it’s something you reach for every day like lip balm. If you’re anything like me, you’ve tried all the popular choices at the store (looking at you, Burt’s Bees), but nothing quite beats the feeling of whipping up your own beeswax lip balm with simple, natural ingredients you already trust. This beeswax lip balm recipe is one of my favorites—easy, nourishing, and perfect for gifting or keeping stashed in every pocket.
So let’s cozy up and make something beautiful together. Whether you're looking to ditch petroleum jelly-filled tubes or just want something with fewer mystery ingredients, this DIY beeswax lip balm recipe is a lovely little kitchen project that leaves you with a final product that works.
Ingredients
- 2 tbsp beeswax pellets (or grated from a larger block of pure beeswax)
- 2 tbsp shea butter
- 2 tbsp cocoa butter or mango butter
- 2 tbsp sweet almond oil or jojoba oil (or a blend of liquid oils like avocado oil, sunflower oil, or olive oil)
- 1 tsp vitamin E oil
- 1 tsp raw honey (optional for extra softness)
- 10–15 drops of essential oils (like peppermint oil, lavender, or orange for different flavors)
- Lip balm tubes or small containers
- Glass jar or glass pyrex
- Double boiler (or DIY with a sauce pan and glass bowl)
Instructions
- In a double boiler over low heat, melt the beeswax pellets, shea butter, and cocoa butter together. Stir gently and continuously until smooth.
- Add your chosen carrier oils and continue stirring until fully combined.
- Remove from heat and stir in vitamin E oil, raw honey, and your essential oils. This is also the time to add any optional ingredients like herbal oils or a tiny bit of mica for shimmer.
- Carefully pour the oil mixture into your prepared lip balm tubes or containers. A small funnel or eye dropper works best to reduce spills.
- Let your lip balm mixture cools completely at room temperature before putting on the lids.
Final Thoughts
There’s something special about crafting your own beeswax lip balm—from melting the simple ingredients, to adding your favorite drops of essential oils, to tucking the finished balm into your purse or gifting it to someone you love. It’s an act of care—for yourself, your family, and the kind of home you want to build.
I hope this little DIY beeswax lip balm recipe becomes a staple in your natural products stash. Whether you’re making a batch to beat dry skin in the winter or adding a few tubes to your holiday gift baskets, it’s a gentle reminder that sometimes the coziest things come from the kitchen—not the store.


